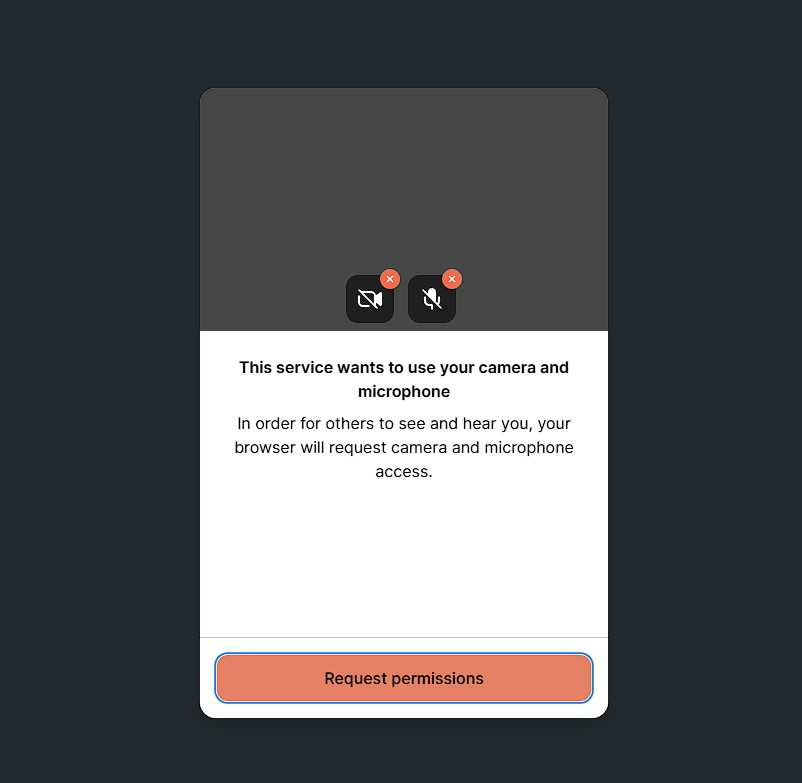
Step 1: During your first visit, the web-browser may need permissions to access your webcam and microphone. Insurance requirements require that both Video and Audio communication is established to perform a tele-health visit. Click the “Request permissions button”
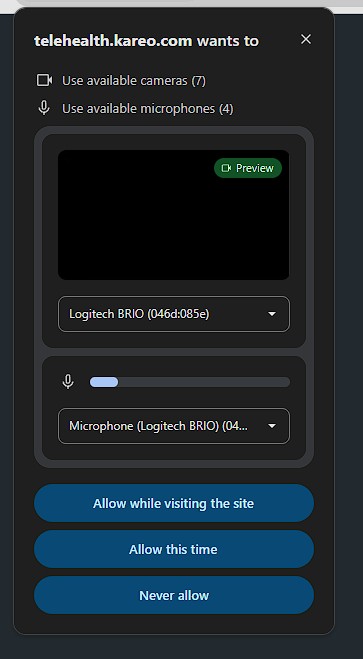
Step 2: The browser may pop-up asking which camera / microphones to use, and confirming the request to allow access. Selected “Allow while visiting the site” to auto-allow this on future visits, or “Allow this time” to limit the permissions to only this visit.
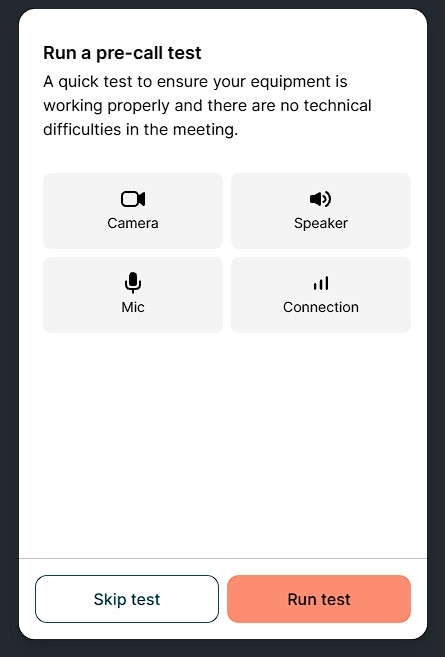
Step 3: Run a pretest of each of the components needed for the telemedicine visit, Camera, Speaker, Microphone and connection. Click “Run test”.
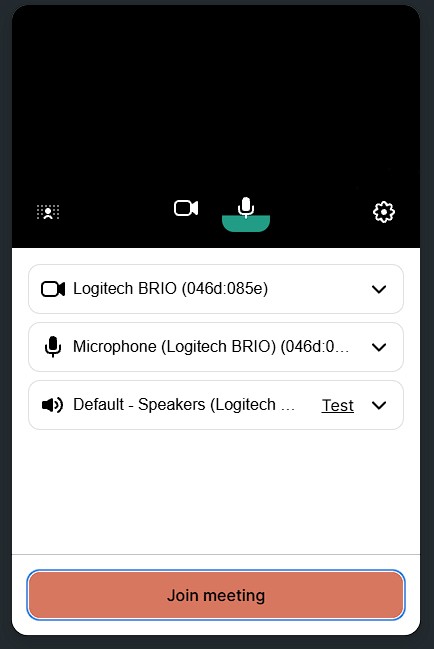
Step 4: Ensure that you can see yourself in the picture (Don’t forget your webcam cover!), as well as see the Microphone icon lighting up with sound. When ready click “Join Meeting” and you will be placed into the virtual waiting room.